Choosing the Right Home Climbing Wall
Strengths and Weaknesses of Common Styles
This article is a part of a series titled “The Home Climbing Wall”, designed to guide you through the process of selecting, installing, or building a climbing wall at home. Follow the links at the end of this article to continue learning!
It’s a wide world of woodies out there, and it can be hard to determine exactly which home wall design fits you the best. This article is designed to help you select which climbing wall design is right for you, and will focus on some of the most common styles of woodies, their strengths and weaknesses, and who would benefit the most from them. Let’s jump right in.
The Vertical Bouldering Wall

One of the most common versions of the home wall, the simple vertical wall is just that: a flat surface parallel to your wall that has no incline to it. This style essentially converts your existing walls into climbing walls without adding much structure or encroaching on space in the room. The simplicity of this style makes it very easy to install, comparatively inexpensive, and generally more accessible for entry-level climbers. This makes for an excellent kids wall, warmup wall, or if you make it big enough you can set some nice slabby routes on it. The downside is that it is very one dimensional. Most climbers enjoy a little more variety in geometry when looking for fun routes, and the climber who is training usually tries to incorporate steeper walls in some way.
You should consider a vertical wall if the intended users are kids, entry-level climbers, or moderate to advanced climbers constrained by space or budget looking for a simple warm-up wall. They are easy and inexpensive to install and can be put up almost anywhere.
Want an elegant, strong, ready made solution right now? Check out Tree Frog Home Climbing Walls!

The Campus Board

Here we have the quintessential training tool for moderate to advanced climbers. Invented in Europe during the ’80s, the campus board quickly became a staple in gyms everywhere. They are specifically designed to ramp up a climbers dynamic strength (fast movement), as opposed to static strength (slow movement), helping climbers stick those long bumps and dynos.
At its core, a campus board is simply a surface inclined toward the user with a series of identical rungs evenly spaced going up the length of the surface. There are no set standards, but most boards are between 12-20 degrees, with 15 degrees being the most commonly recommended. Rung depths vary from impossibly thin to full jugs, but a common moderate depth is 1”. Rung spacing is becoming increasingly standardized at 20cm for a “full” space and 10cm for a “half” space. For an in-depth look at the variables involved in campus board design, check out this article: The Campus Board - Metolius
True campus training should not be attempted until your tendons have had time to adapt to the unique strain climbing puts on them. Most authorities on the subject recommend 2 years of climbing and the ability to climb around V5 level bouldering routes before starting a campus board regimen. If you aren’t quite there yet, many modified training programs have been developed around the campus board to help you get there without putting all that strain on your tendons and pulleys.
Like a hangboard, the campus board is not a do-all trainer. Developing dynamic strength helps push yourself to higher grades, but should come secondary to developing the fundamentals of climbing that you can only get climbing on actual routes.
The campus board should be considered if you are a moderate to advanced climber interested in maintaining a high level of performance or pushing yourself to higher grades. They are a little more work than a simple vertical wall but can be made very simply, inexpensively, and without taking up much room. The simple, clean lines can even make it an aesthetic addition to the right space.
The System Wall

In climbing, you encounter moves that push the limits of your body in very unique ways. System walls are probably the most developed climbing tools out there for training the body to accomplish these highly specialized movements. They often incorporate a symmetrical layout of holds, allowing the climber to balance their abilities on the left and right sides of their bodies.
There are many popular versions of the system board (think Moon Board, Tension Board, Kilter Board, and countless personalized designs) but they all follow roughly the same outline:
Large climbing surface
Steep Incline
Standardized T-nut Spacing
Check out some of these resources for more in-depth info on system boards:
Introduction to System Board Training - Climb Strong
Systems Wall and Symmetrical Training - Rock and Ice
The Spray Wall
These gnarly creations are similar to a system wall in size and shape, but the function is a little different. Instead of having a clean layout of symmetrical holds, these beasts are usually jam-packed as densely as possible with as many holds as can be fit on the wall. The idea is to maximize route variations per square foot of the climbing surface. For this reason, they need to be big enough to string together at least a few moves. The sheer volume of holds can rack up quite the bill, but most climbers accumulate good ones over time.
If you’re tighter on space, need a little more fun to keep you motivated, and have the money for it, a spray wall is an excellent choice. It can make a room pop too, especially if you’re a fan of the Seattle gum wall aesthetic!
The Mini Gym Wall
There are a lot of flat walls in the world of woodies, but you don’t have to fall in line with the rest of them. The “Mini Gym” wall incorporates more complex geometry to provide more variety to the climbing experience. Cracks, dihedrals, aretes, roofs, caves… you name it.
Some do it to train for specific scenarios, open up more interesting and exciting route-setting options, or even for a more authentic look. Whatever the reason, they can be pretty sick in both form and function.
These walls are a lot more complicated, and expensive, than your typical flat wall. They tend to be big, too. If the intent is to do some real climbing, you need space to complete a real route. Designing a structure that provides adequate support to these unique shapes isn’t a task for a novice DIY’er, and paying a professional can be pricey.
If you aren’t constrained by space, cash, and/or expertise like the rest of us mortals, the “mini-gym” wall is the holy grail. However, if you also have some serious vertical room to play with…
The Sport Climbing Wall
Yeah, people do it. A fully functional, roped in, lead climbing or top roping experience in your home. Or outside your home, more of a possibility for those of us not living in an alpine chateau. If indoors, these can be found in living rooms, stairwells, or entryways. Outdoors, the side of a barn, your home, or even a large tree can be used. Or, you can start from scratch and build it as a freestanding structure. Needless to say, if this sounds like your cup of tea you’ll need some serious know-how and most likely funding to pull it off. We have seen some incredible builds on a shoestring budget, but they are usually built by seasoned craftsmen/climbers.
An important consideration here is the need for a bomber belay system. If you are going to be taking falls on something you've built, it better be engineered to take the shock. A great solution is auto-belay, but they aren’t cheap.
If you’re looking to work on endurance, reduce your fear of falling, fine-tune the nuances of clipping a bolt, or train an army of young climbers in a controlled setting, this may be for you. Just be sure you have access to experienced climbers/craftsmen/engineers or are willing to pay for a pro install. Having a sport wall makes you a legend. Of course, “heroes get remembered, but legends never die”... unless it’s on a poorly built home sports wall.
Versions of the woodie are as numerous and diverse as the pro on a crack addicts rack, but we hope this discussion helped to give you an idea of which one is the right fit for you. In the previous article, “The Home Climbing Wall: Where do I start?” we took a look inside our hearts at what we wanted in our home wall. This article hopefully inspired a direction for you to go. In the next article, we will dig into the nuts and bolts of the build itself (if you choose to go that route).
You may be interested in:
Tree Frog Home Climbing Walls!
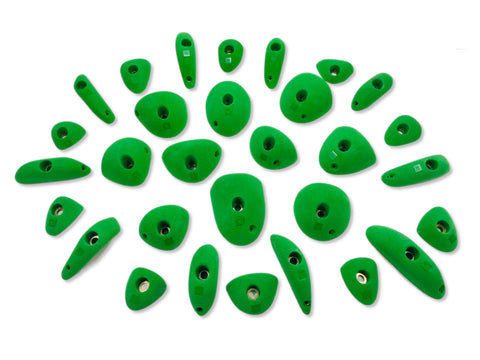
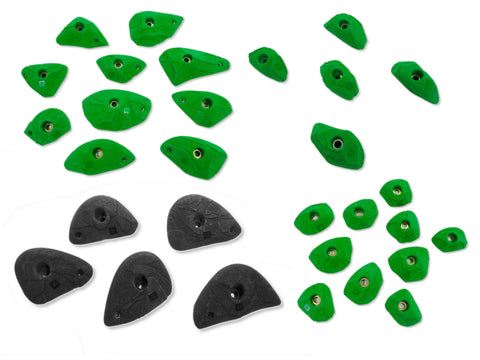
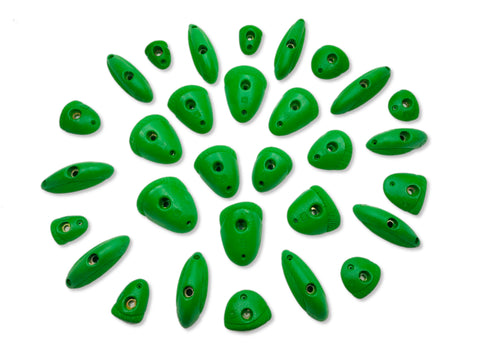
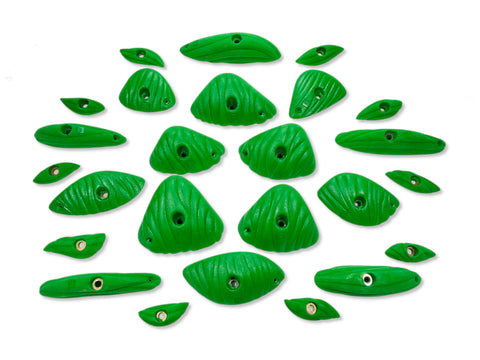
Climbing Holds

Climbing Mats

Hardware

Keep learning in the rest of our Home Climbing Wall Series:
The Home Climbing Wall: Where do I start?
Taking a step back to make sure you know what you need to know to start on the right foot.
Choosing the Right Home Climbing Wall
An exploration of different types of home climbing walls and where they shine.
Building a Climbing Wall
Detailed information on how to build a climbing wall that is rock solid. Methods, materials, and wisdom from the esoteric world of home rock wall building.
The Climbing Wall Design Vault
A collection of ready to go design packages for home bouldering walls/home rock climbing walls/home training walls. We include schematics, shopping lists, and detailed build instructions to make building a rock climbing wall go as smoothly as possible.
Build vs Buy
A look at some available options for purchasing home rock climbing wall products, and reasons one may be better for you than another.